8bitworkshop 3.6.0 Release#
The 8bitworkshop IDE 3.6.0 is out, and we’ve added five more awesome platforms, as well as some nifty new debugging features!
Commodore 64#
Commodore’s VIC-II graphics and SID sound chip were originally destined for a next-gen game console. Engineering convinced CEO Jack Tramiel that a low-cost 64KB computer would be profitable, and thanks to having their own semiconductor fab (acquired from MOS Technology, along with the 6502) they were able to design the chipset in about five months.
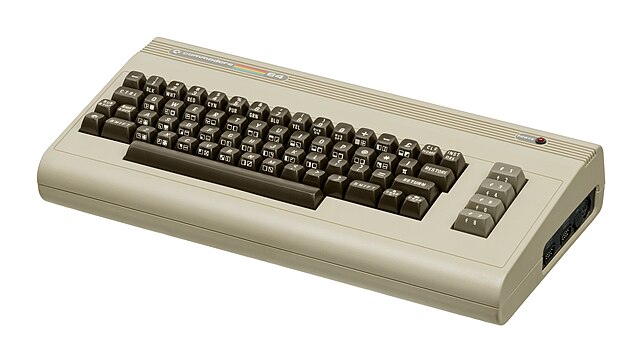
The Commodore 64 was introduced in 1982 for $595, eventually becoming the top-selling computer model of all time. The colorful graphics and SID-powered audio inspired a generation of game and demoscene developers, who explored every nook and cranny of the hardware.
The 8bitworkshop IDE uses Andre Weissflog’s chips library, a cycle-accurate emulation of the Commodore 64 compiled from C to WebAssembly. It also uses the MEGA65 open-source BIOS, so BASIC programming is not available. However, you can write in 6502 assembler or C. This classic maze game from homebrew developer Lee “Legion” Smith demonstrates using the PEEK and POKE macros to access the hardware.
There’s no 1541 disk drive emulation – the IDE loads your program directly into RAM,
then behind the scenes it types SYS 2061 to start execution.
ZX Spectrum 48K#

The ZX Spectrum (“Speccy”) was a popular 8-bit computer based on the Zilog Z80 CPU. Its popularity in the UK was similar to that of the Commodore 64 in the US.
The computer has a graphic resolution of 256x192, but only two of eight colors could be assigned to each 8x8 cell. This could cause “attribute clashing” that had to be carefully managed. Nevertheless, the 48K of RAM made possible some complex games, though most had to be loaded from cassette tape. Sound is generated by toggling a single bit, much like the Apple ][.
Thanks to the SDCC compiler, you can program the Speccy in C, and there’s even a sample game to get you started. You can also use assembly language, thanks to the ZMAC assembler. We use the SEBASIC open-source ROM set, so you can use all of your favorite BIOS routines too.
The Z-Machine#
Infocom games were the gold standard in text adventures in the 1980s. Zork was a hit on campus mainframes, and Infocom’s goal was to port it to the relatively tiny world of microcomputers. Infocom’s “imps” used their in-house DECSystem-20 to write games in ZIL (Zork Implementation Language). This was compiled and translated to Z-Machine format, a virtual machine specification which could run on almost any 8-bit machine.
Since then, a rich ecosystem has sprung up around this architecture. The IDE includes Inform 6 – a language, compiler, and standard library for the Z-Machine by Graham Nelson. (Not included is the latest version, Inform 7, which understands natural language syntax and has its own bundled IDE.)
You can play your text adventure right inside the IDE, and we’ve included all of the Inform 6 example games to get you started. There’s no instruction-level debugger yet, but you can open the new Debug Tree view to inspect the object hierarchy and global variable list, or use Memory Browser to see into the raw VM memory.
Atari 5200 (experimental)#
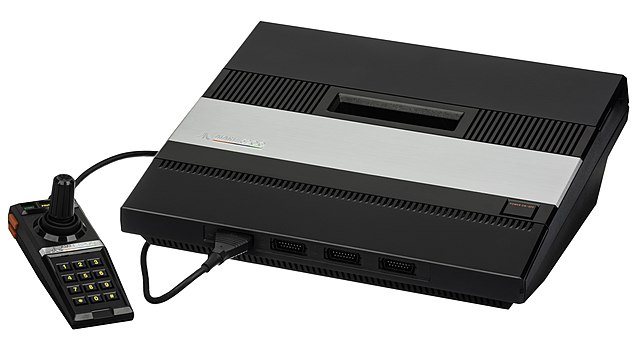
The Atari 8-bit family was Atari’s standard architecture for computers and game consoles in the early 80s. They all included Jay Miner’s ANTIC chipset, which acted as a mini-CPU that read from RAM via DMA and drove the display. The POKEY chip generated audio and interfaced with peripherals.
The IDE uses MAME for the Atari 5200’s emulator, so there are no debugging features, and only a couple code examples as of yet. However, you can import Curse of the Lost Miner, a full game ported to the 5200 with C source code.
We use the free BIOS from the Altirra project.
PC DOS x86 (experimental)#

Thanks to the v86 project, you can program a x86 PC running DOS – specifically, FreeDOS, an open-source DOS-compatible OS. It’s kind of like programming a very slow Pentium in 16-bit real mode.
The IDE includes the yasm assembler and SmallerC compiler to help you along. It’s still pretty rough, and there’s no debugging support, but there are a few source code samples that can get you started. There’s no standard library support yet, so you’ll have to use BIOS interrupts or direct memory access. Also see awesome-dos for inspiration.
Dithertron#
A cool new way to get graphics into your programs!

Dithertron is an interactive web-based tool that converts full-color images to full-screen 8-bit retro formats, performing cropping, resizing, palette selection, and dithering.
Some formats (e.g. C64 multicolor, TMS9918A, ZX Spectrum, NES 5-color) split the screen into smaller sub-blocks that each can only display 2 to 4 colors of a larger palette. Neighboring sub-blocks may affect each other when dithering is enabled, so Dithertron chooses good colors for each sub-block and iterates until they stabilize. How To Use
Upload an image, or select an example image from the pulldown.
Choose a target format.
Play with the sliders until you’re happy with the result.
Download the final image (PNG), download a binary file, or open an image viewer code sample in 8bitworkshop.
For some formats, you can automatically export your image to a 8bitworkshop sample program:
C-64 Multi - 160 x 200, 16 colors, 4 colors per 4x8 block
C-64 Hires - 320 x 200, 16 colors, 2 colors per 8x8 block
NES (4 color, 240 tiles) - 160 x 96, 4 out of 64 colors
TMS9918A (Mode 2) - 256 x 192, 16 colors, 2 colors per 8x1 block
Apple ][ Hires - 140 x 192, 6 colors, 4 colors per 7x1 block
Atari ANTIC D - 160 x 96, 4 out of 256 colors
Atari VCS - 40 x 192, 2 out of 256 colors
Bally Astrocade - 160 x 98, 4 out of 256 colors
Other Stuff#
The new 8bitworkshop IDE 3.6.0 release has lots of other new features:
- Probe Log
See a cycle-by-cycle or instruction-by-instruction execution log of your program.
- Symbol Probe
Show a list of symbols, and a running count of their read/executes and writes.
- Call Stack
A tree view of the call stack. Shows the total number of call counts, and on which raster line the subroutine starts and ends.
- Debug Tree
A debug inspector for the raw emulator state – CPU registers, RAM, etc.
- Debug View Support
The VCS now supports all debug views, as does C-64 and ZX Spectrum.
- Improved Debug Views
We lookup more symbols when doing a mouse-over on the Memory Probe view, and retain the display when you advance an entire frame.
- Symbol Inspection
You can double-click (select) a symbol in the editor to display its value, if it’s a global symbol.
- Cycle-Level Replay Slider
The replay feature lets you rewind to a specific frame, and also a specific cycle count within a frame. It also opens the relevant code listing as you rewind through time.
- Run to PC
You can click the left side of the editor to break on a specific line, and we’ve fixed a bug so you can do this repeatedly on the same line.
- Fixed Line Numbers in CA65 Assembly
Better alignment of code offsets with the assembler listing.
- Request Storage Permissions
Some browsers (Safari) are getting picky about allowing local storage. We ask the browser for permission the first time you create a new project or import a repository, and tell you if your source code changes will be preserved.
- Memory Map
You will now see memory segments side-by-side if they overlap.
- Click for Help
There’s a little “?” icon on the toolbar that links you to more information for the current platform and/or language.
- File Download Extensions
When you download a ROM binary, we give it an appropriate file extension so you can open it immediately in another emulator.
Happy programming!